
The UI of Desktop Context Menu Custom How to Add a Program to Desktop Context Menu:
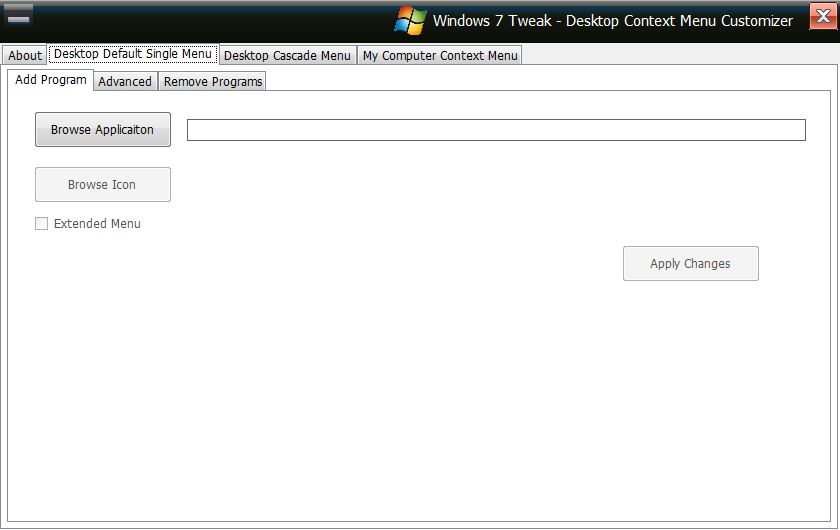
- Click on Browse Application Button
- Choose the File that you want to add to Desktop Context.
- Click Apply Changes, Done.

- Select A Windows Feature to Add
- Click Apply Changes
- Save Changes, Done.
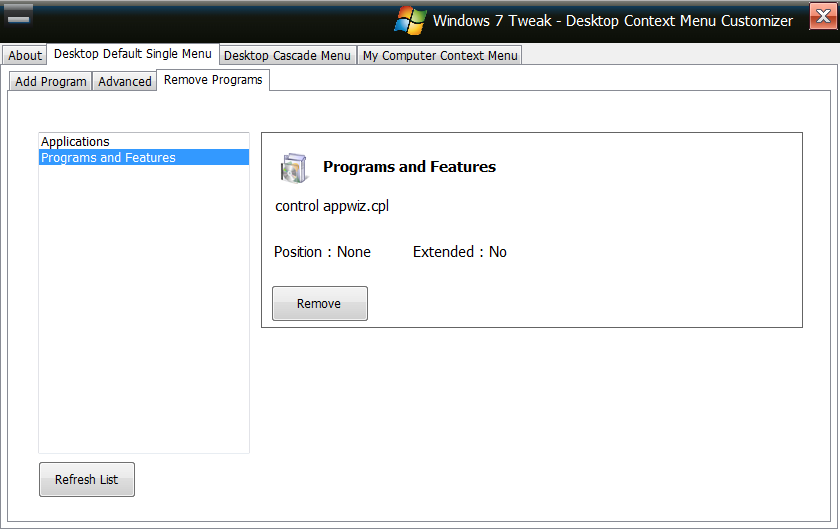
- Select The Item to Remove
- Click Remove and Confirm.
Create a new Cascade menu
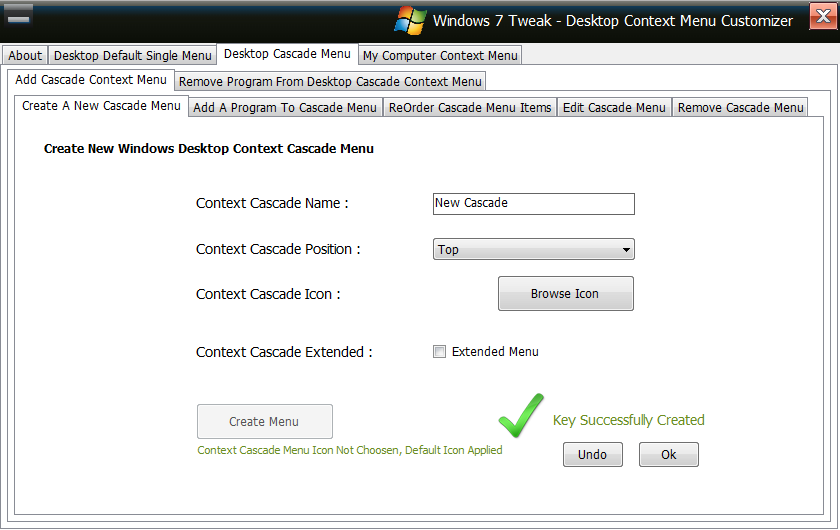
To create a new Desktop Cascade menu,
- Click Add Cascade Context Menu Tab
- Click Create A New Cascade Menu
- Give the Cascade Display Name, Position, and Icon if you have
- Extended menu, it will hide the folder when user right clicks on desktop normally and shows up the cascade menu when user right clicks desktop with shift key pressed.
- Click Create Menu, Ok to confirm and undo for Cancel.

To Add a Program to New Custom Cascade Context Menu
- Select the Cascade Menu
- Browse the Program file to Add
- Change Name or Icon of the Application to Display in Context Menu
- Apply Changes.
To Reorder the Custom Cascade Context Menu

- Select the Cascade Menu
- Select the Program and change the index
- Click Save Changes, Done.
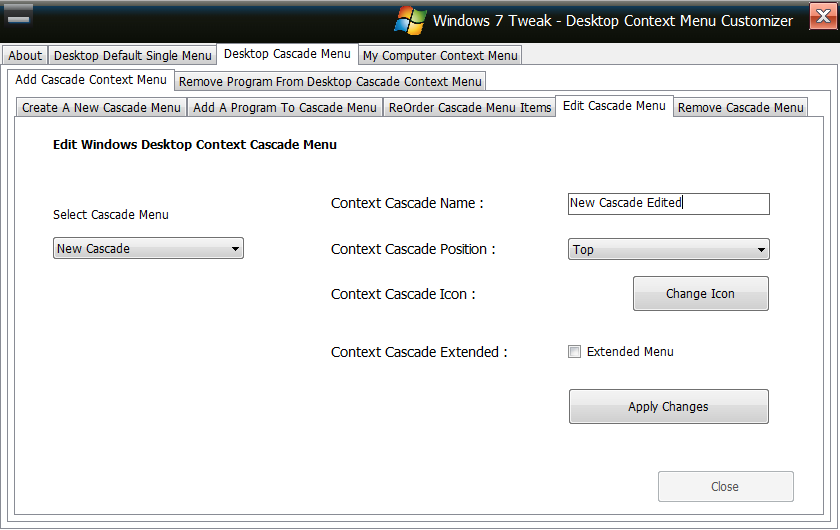
- Change the settings as you required.
- Click Apply changes to save the Changes.

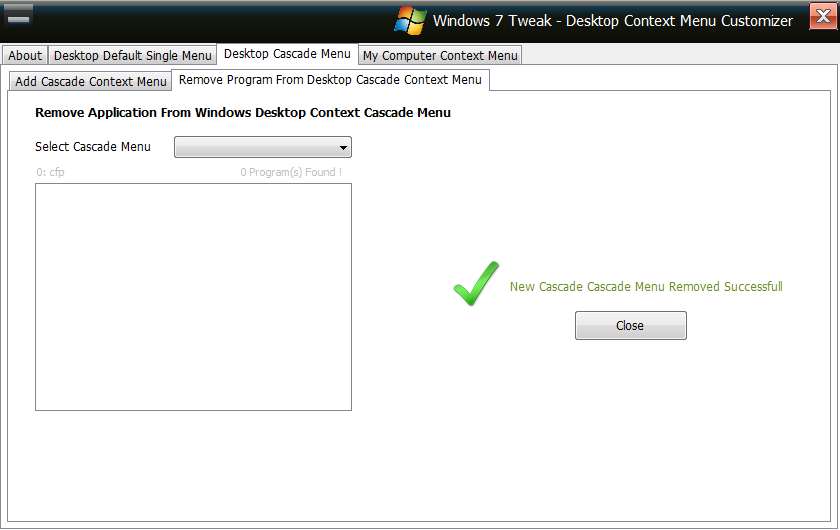
- Select the Cascade Name
- Click remove Menu
- The Cascade menu is not able to delete when there are items in it.
- Click the Remove button to remove the applications

Select the cascade to remove items and Click Remove and Confirm.

New Cascade Menu Removed.
Downloads
 Deviantarts.com
 Download From Softpedia.com
I find it very helpful that this update allows for more organization with separate folders.
ReplyDelete